How to Edit a Return Merchandise Authorization?
The system will allow you to make edits to your existing Return Merchandise Authorization (RMA) if the RMA status is OPEN. See the steps below to get started.
Available platforms: Newegg.com, Neweggbusiness.com, Newegg.ca
How-To:
- Go to Seller Portal and hover your mouse pointer over the list icon (upper left corner) then select Orders > Return List.

- Search for the RMA then click the Edit button.

- You can edit the Return Type, Seller RMA Number, Return Reason, and/or Return Memo.
-
Return Type
- If you selected a return type of Return and Refund you can change it to Replacement and vice versa.
- Switch to either Return and Refund or Replacement and select a Return Reason if applicable.
- Click the Save button to update.

- Note: If Item Damage and Item not received were first selected as a return reason, you cannot change it.
- Sellers will be required to upload pictures/proof when taking the following actions:
- Change RMA reason from “non-personal return” reason to “personal return” reason
- Sellers should be able to see that the RMA was selected as “UNOPENED”

- If you selected a return type of Return and Refund you can change it to Replacement and vice versa.
-
Seller RMA Number
- If you provided your own Seller RMA Number or left it blank, you can update it if needed.
- Enter a new value in the Seller RMA Number field.
- Click the Save button to update.

- If you provided your own Seller RMA Number or left it blank, you can update it if needed.
-
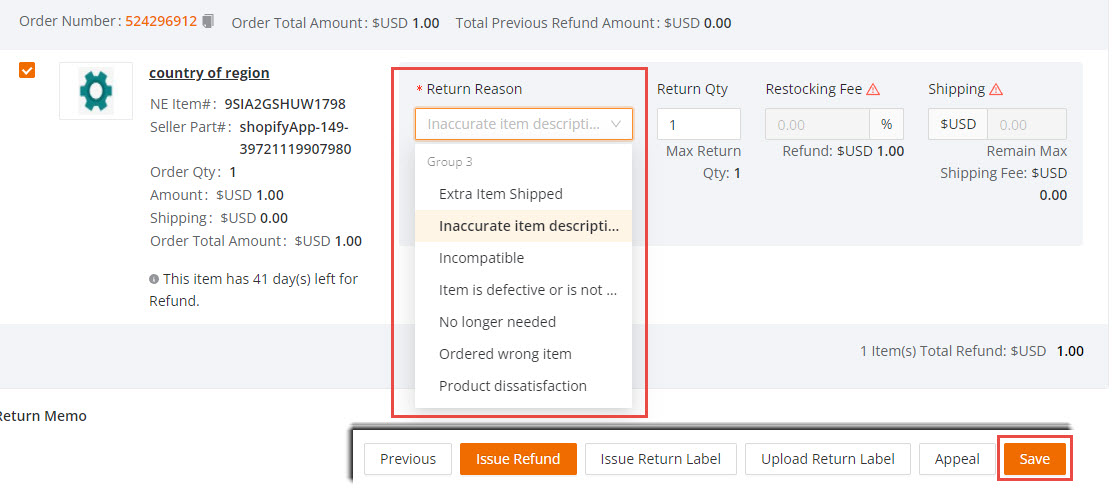
Return Reason
- If Item Damage and Item not received were first selected as a return reason, you cannot change it. Other RMA Reasons are applicable for change.
- Under Return Reason select a new reason.
- Click the Save button to update.
- NOTE: Restocking fees are waived entirely, regardless of return reason or weight of the item. Sellers will not be able to charge a restocking fee.
- If Item Damage and Item not received were first selected as a return reason, you cannot change it. Other RMA Reasons are applicable for change.
-
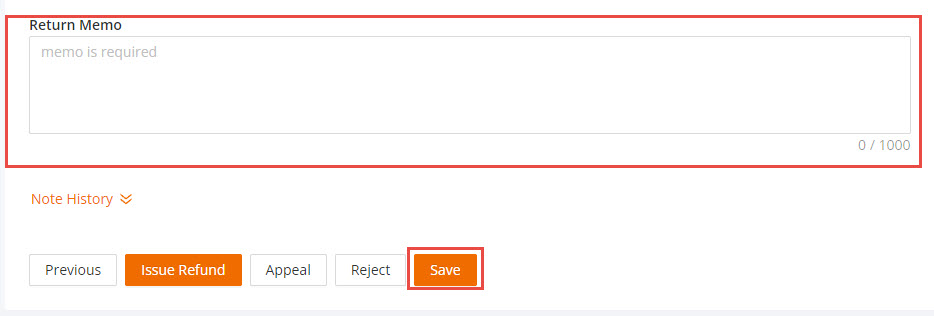
Return Memo
- Add additional memos/notes for your RMA.
- Under Return Memo, enter a new memo or note.
- Click the Save button to update.
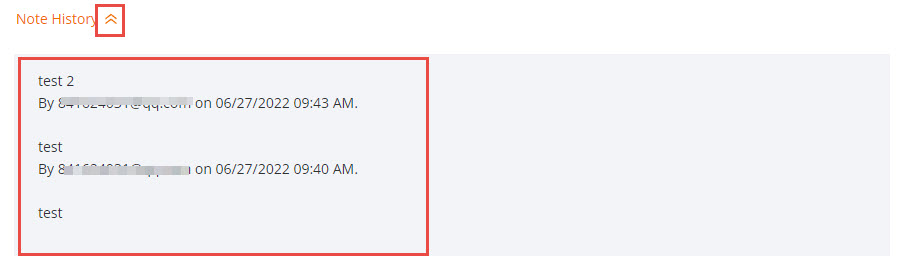
- After saving allow a few minutes for the system to sync the update, you can view your new memo or note by collapsing the Note History.
- Add additional memos/notes for your RMA.
-


